Care guide
Where DIY Drywall Repair Stops in a Matthews House
Plenty of drywall damage is within reach of a careful homeowner. Plenty is not. The line between them is less about skill than about what sits behind the wall, how much the area moves, and how much dust the job will make in a house people are living in. This guide walks through where that line falls.
Repairs a homeowner can reasonably finish
- Nail and screw holes from pictures and shelves: fill, let dry, sand lightly, touch up.
- Shallow dents where the paper face is not torn: two thin coats of lightweight spackle.
- A single popped nail on a wall: drive a drywall screw beside it into the stud, sink the old nail, cover both.
- Small anchor tears: cut away loose paper, seal the torn spot with primer, then fill.
The tools that takes
A 4-inch and a 6-inch putty knife, a tub of lightweight spackle or premixed joint compound, a fine sanding sponge, a utility knife, a drill with a few drywall screws, a small can of primer, and a drop cloth. For anything you sand, a dust mask and an open window. That kit costs little, and it covers most of the jobs above.
Safety before the first scrape
Shut off the circuit at the panel before cutting or screwing anywhere near a switch or outlet; wiring often runs along studs at those heights. Walls behind kitchens and bathrooms can carry water supply and drain lines, so cut shallow and look before going deeper.
Age matters. Most houses in Matthews date from the 1980s on, but the town started as a railroad stop in the 1870s, and the older blocks near downtown include houses built long before 1978. The EPA says homes built before 1978 are more likely to have lead-based paint and that repair work disturbing painted surfaces can create lead dust, so test the paint before sanding in an older house. The EPA also lists textured paint and patching compounds among materials that may contain asbestos, and advises leaving sampling to a trained professional. If an older ceiling texture is involved, don't scrape it to find out.
Keep dust contained even on small jobs. Close the door, cover the HVAC return in that room, and shut the system fan off while sanding so the dust does not travel through the ducts.
Signs it has become a job for a pro
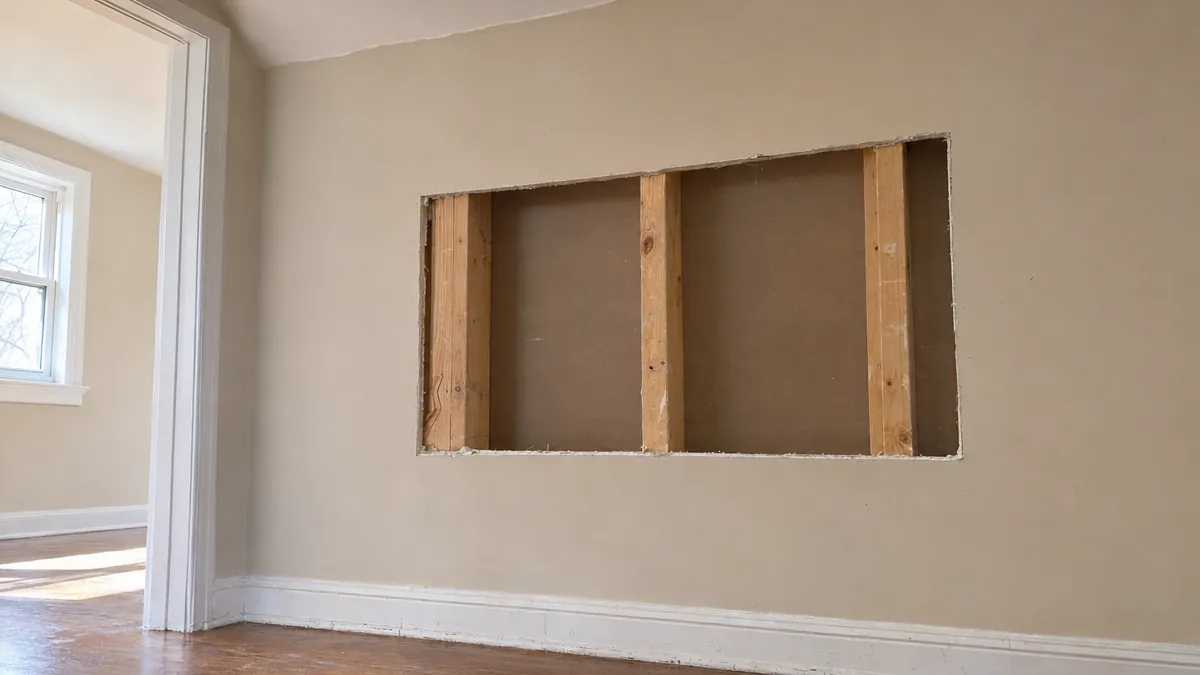
- The hole is bigger than your hand, or you can see framing, wires or pipes through it.
- A crack reopens in one spot after each repair, or follows the ceiling line every winter.
- An outside corner is bent, cracked or moves when pressed.
- There is a stain, a sag or a spongy patch, which means water, and water means the source comes first.
- The wall or ceiling has a texture you can't reproduce with a sponge.
- The repair is overhead, on a stairwell or above a height you can reach from a sturdy step stool.
- Pops are appearing by the dozen, which points to framing movement rather than one loose nail.
None of those mean the job is dangerous. They mean it needs backing, tape, several coats with drying between them, and texture work, and that is where a patch done in a hurry tends to show.
In Matthews weather, give coats their time
Weather around Charlotte is classed as humid subtropical, with long, muggy summers. Joint compound dries by evaporation, and on a sticky July day a coat that would dry overnight in October can stay soft into the next afternoon. Sanding or priming a coat that is still damp is how most homeowner patches end up cracked or sunken. Run the air conditioning, keep air moving, and press a fingernail into the edge before the next coat: if it dents, wait.
If you started and it went sideways
It happens. A patch that sank, a mesh square that shows through the paint, a hole that got larger while cutting. None of it is a problem to fix. Leave it as it is, don't add more coats over a bad base, and send a photo. For larger holes, see how a backed patch on a doorknob-size hole is done; for fasteners that keep backing out, the nail pop page explains why a screw beside the old nail matters.